This tutorial is not done yet. Be back later...
To make a sword to play trollball
Before the beginning...
A sword made for the trollball has to be safe for the other players, what required a good use of materials and shapes. The size must not exceed 110 cm.
Required material :
- A fitness carpet
- 2 rods of carbon or fiber glass (1m - 8mm)
- Neoprene glue
- Latex
- Paint
- Tissue (e.g. leather)
- Rope, or (tennis) grip...
- Adhesive tape
- Paper
- A pen
- Scissors
- A saw
- A Yardstick
- A sander
Create a pattern
The first step consists in drawing a pattern which represents the shape of the sword (blade + cross-guard). The size is under 110 cm.
Cut the pattern
Once the pattern is ready, draw the same on the carpet and cut it.
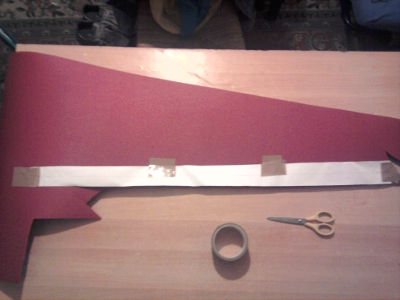
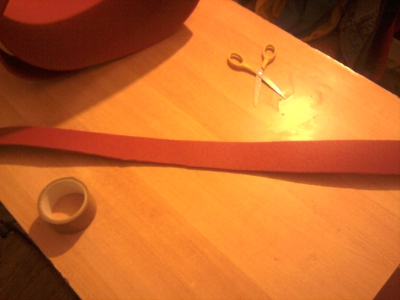
Do it again twice to have 3 shapes.
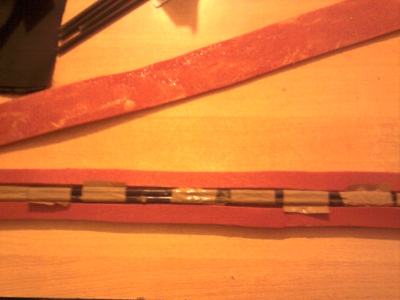
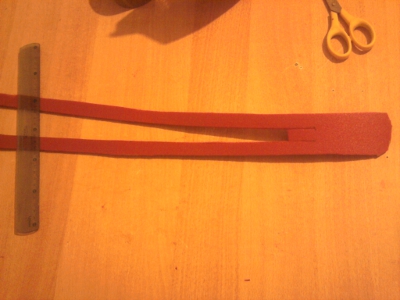
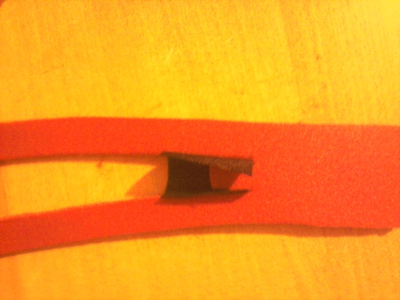
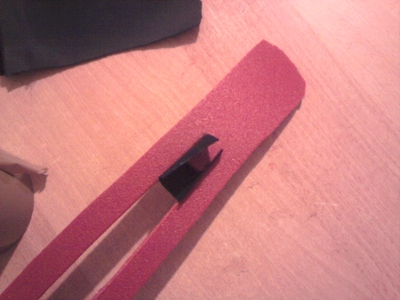
The place for the rods
Take one of the 3 shapes and cut a tape in the middle of it. The width of it is the size of the two rods. Here it is 16mm = 2x8mm. At this place will come the rods. So it has to be cut from the cross-guard to few centimeters before the end of the blade. Few centimeters free of the rods are required to avoid to hurt another player or dammage the blade.
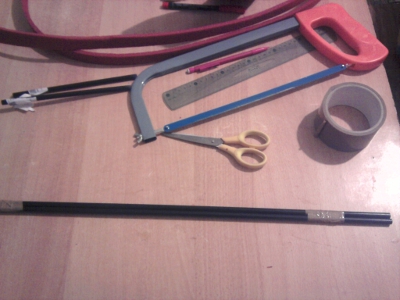
Prepare the rods
In consists in cutting the 2 rods at the good size (about 1m). In fact, the sword can't be longer than 1m10.
The size of the rods is the sum of the chamber made into the carpet plus the size of the cross-guard if the two pieces are dissociated.
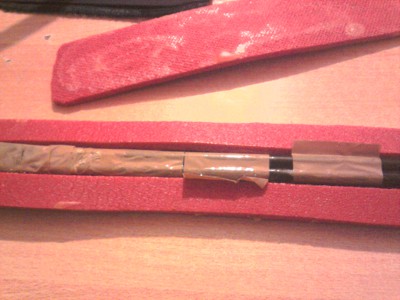
Then, you can put adhesive on it to keep the rods together and glued them with the neoprene. Wait a few minutes.
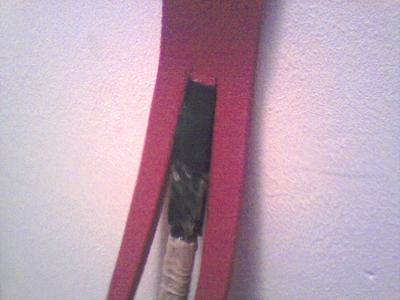
To protect the carpet of the moving rods, put tissue on the extremity and add glue.
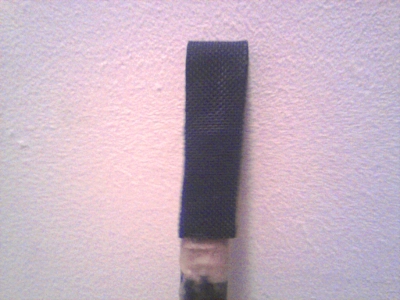
Fixing the rods (part 1)
It is important to protect the carpet from the moves of the rods. Add a piece of tissue around the extremity of the rods and add glue.
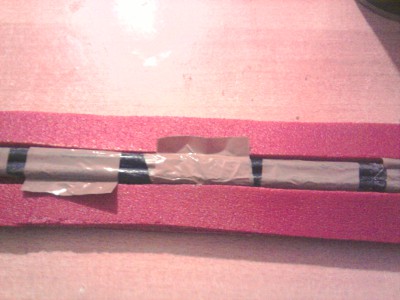
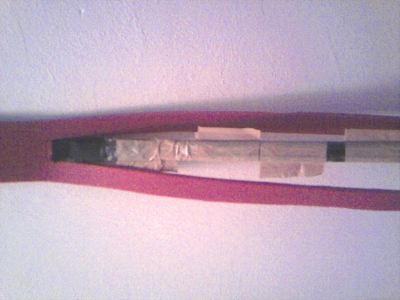
Fixing the rods (part 1)
Add short tapes of adhesive on each side of the rods. Alternate the side.
Glue the blade
Once the previous steps are made, you can place the tapes alternatively on and under the shape, right then left alternatively. Glue the 3 shapes together and wait.